
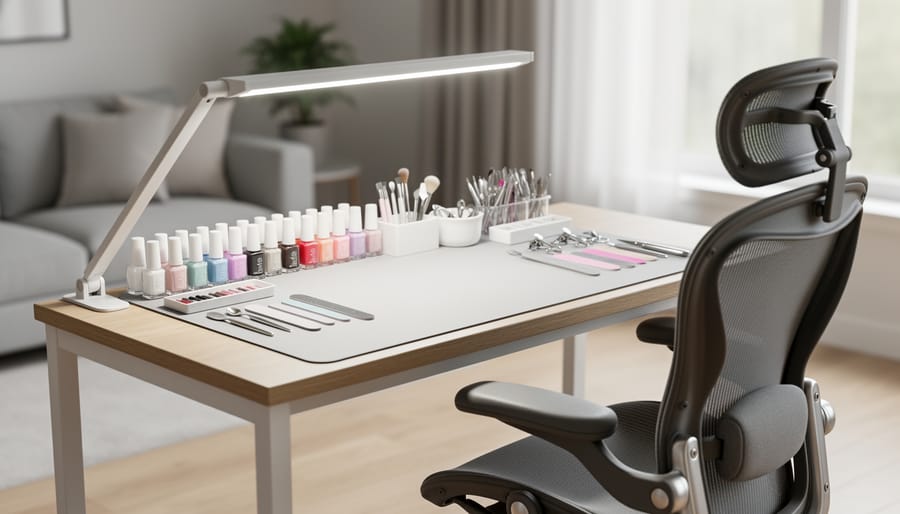
How to Build Your Own Manicure Table for Under $50
You can build a fully functional manicure table for under $50 in about two hours using basic materials from your local hardware store or thrift shop. A simple setup requires a sturdy desk or tabletop, proper lighting, organized storage for polishes and tools, and a comfortable chair that supports good posture during longer nail sessions.
Let’s be real: those fancy salon-style nail stations you see on Instagram cost hundreds of dollars, and most of us would rather spend that money on actual polish and supplies. The good news? You don’t need to drop serious cash to create a workspace that’s every bit as functional. Whether you’re turning a corner of your dorm room into a mini nail bar or setting up a permanent station in your apartment, a DIY approach gives you exactly what you need without the markup.
The key is working with what you already have and getting creative with budget finds. That old desk collecting dust in your parents’ garage? Perfect base. The hanging shoe organizer from freshman year? Brilliant polish storage. A clip-on lamp from the dollar store? Instant task lighting. By the time you finish reading this guide, you’ll have a complete blueprint for building a manicure table that rivals any professional setup, all while staying firmly within a student budget. Plus, you’ll be able to customize every detail to fit your space, your style, and the way you actually do your nails.
Why You Need a Dedicated Manicure Space
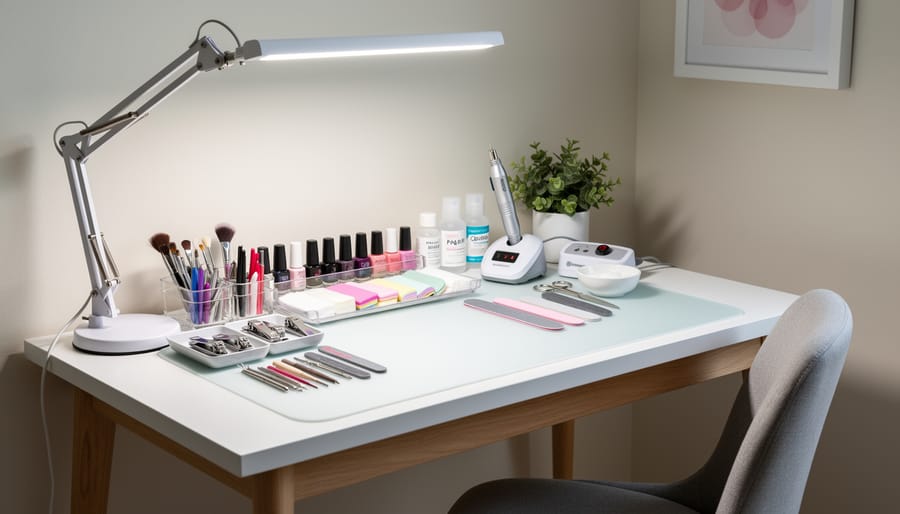
I’ll be honest, I spent most of my first year doing my nails while sitting cross-legged on my dorm floor, polish bottles scattered across a towel, squinting under terrible overhead lighting. By the time I finished, my back hurt, I’d inevitably knocked over at least one bottle, and my nails looked… fine, but not great. It wasn’t until I spilled remover on my roommate’s wooden desk (sorry, Emma) that I realized I needed an actual setup.
Having a proper manicure station changes everything. First, the lighting situation becomes controllable. You can position a lamp exactly where you need it instead of trying to catch natural light by the window or dealing with shadows from overhead fixtures. This matters way more than you’d think when you’re trying to see if your topcoat is streak-free or if you’ve cleaned up your cuticles properly.
Organization is the second game-changer. When your cotton pads, remover, base coat, and cleanup brush all have designated spots within arm’s reach, you’re not constantly getting up mid-manicure to hunt for things. No more accidentally touching wet nails while digging through a makeup bag for your topcoat.
The comfort factor sneaks up on you. Doing nails takes time, especially if you’re trying something detailed or waiting for proper dry time between coats. Hunching over a coffee table for forty minutes leaves you sore and cranky. A proper setup at the right height, with space to rest your arms comfortably, means you can actually enjoy the process instead of rushing through it because your neck is screaming.
And honestly? Protecting your actual furniture from the chemical warfare that is nail polish remover is worth the effort alone. Acetone eats through finishes, polish stains everything it touches, and those little spills add up fast.
What You’ll Need to Build Your DIY Manicure Table
Before you start hammering or gluing anything, let’s talk about what you actually need. The beauty of this project is that you can get most of these items for practically nothing if you know where to look. Check your own room first, you might already own half this stuff, then hit up Facebook Marketplace, Value Village, or your local dollar store for the rest. Here’s everything broken down by what it does:
- Main Structure: A small desk, TV tray, fold-out card table, or sturdy shelf ($0-$20 if you repurpose something you own, $10-$25 at thrift stores, or free from a friend upgrading their furniture)
- Surface Protection: Vinyl tablecloth, plastic placemat, or laminate sheet to protect against polish spills ($3-$8 at dollar stores or Walmart)
- Storage: Mason jars, small baskets, makeup organizers, or plastic drawer units for polish and tools ($5-$15 total, dollar stores are your friend here, or raid your existing bathroom storage)
- Lighting: Clip-on desk lamp or LED strip lights with daylight bulbs for accurate color ($8-$15 at IKEA, Amazon, or Canadian Tire)
- Optional Extras: Wrist cushion or folded towel for comfort, small trash bin, decorative touches like plants or quotes (budget whatever’s left, usually $5-$10)
The total should land well under $50, especially if you’re strategic. IKEA’s LACK side table ($10) makes an excellent base if you’re starting from scratch, and you can often find gently used desk lamps on campus buy-and-sell groups for a few dollars. Don’t feel like you need to buy everything new, this is about creating a functional space that works for you and your DIY manicure kit not impressing anyone with fancy purchases. If you already have a sturdy surface and decent lighting, you’re halfway there. Adapt this list based on what’s available in your space and what you can borrow, thrift, or improvise. The goal is a dedicated spot where everything you need is within reach, not a Pinterest-perfect setup that drains your grocery budget.
Safety First: What to Watch Out For
Before you start hammering and gluing, let’s talk about the not-so-fun stuff that’ll keep you safe. Working with nail products in a small space comes with real risks, so take these precautions seriously.
Ventilation is your biggest concern. Acetone breathing hazards are well-documented, and polish fumes aren’t great either. Set up your manicure table near a window you can crack open, or invest in a small desk fan to keep air moving. If you’re in a windowless dorm room, that’s a dealbreaker for this location, you need fresh air circulation. Headaches and dizziness from fumes are your body’s way of saying the air quality isn’t safe.
Speaking of electrical concerns, Electrical safety near solvents matters when you’re adding task lighting to your setup. Check that cords aren’t frayed, don’t overload power strips, and keep liquids away from electrical components. A spilled bottle of acetone hitting a cheap lamp can create serious problems.
Finally, think about your base furniture’s stability and weight limits. That wobbly TV tray might collapse if you pile on heavy glass polish bottles. If you’re in a rental, avoid permanent modifications like drilling into furniture or walls. Use removable adhesive strips, clamps, or freestanding organizers instead. Your damage deposit will thank you later.
Step-by-Step: Building Your Manicure Table
Step 1: Choose and Prep Your Base
Your base is the foundation of the whole setup, so you want something sturdy but not precious. A small desk you’re not using anymore works perfectly, check your parents’ basement or hit up a thrift store where you can snag one for $10-20. Those fold-out TV trays are surprisingly solid if you’re tight on space, and they store flat under your bed. Card tables from dollar stores give you a bigger work surface for around $15-25.
Before you build anything on top, give your base a good wipe-down with all-purpose cleaner. Check for wobbles by pressing down on each corner. If it rocks, stick felt furniture pads under the short leg or tighten any loose screws you find. Run your hand across the surface, sand down any rough spots that might snag your workspace additions later. If you’re using something super lightweight like a TV tray, consider adding a small weight to the base or positioning it against a wall for extra stability during polish application.
Step 2: Add a Protective Surface Layer
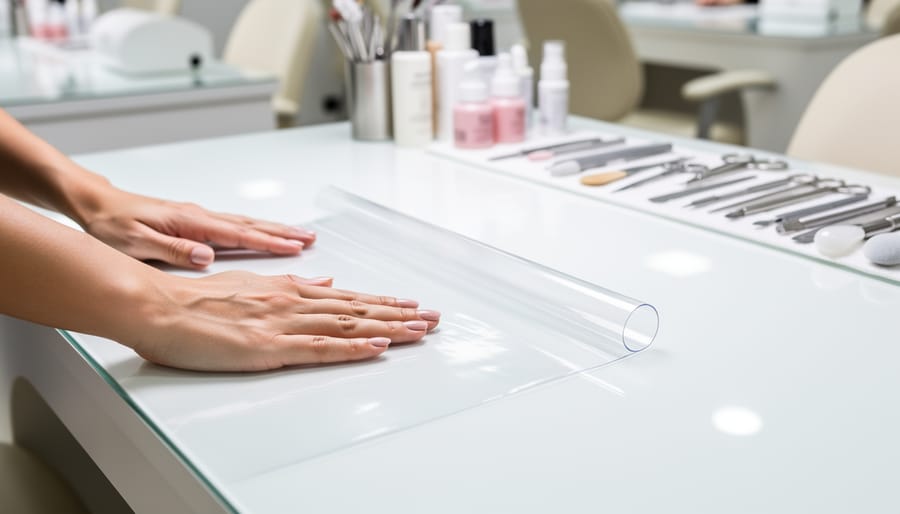
Nail polish and acetone are notorious for leaving permanent marks on wood and laminate surfaces, so protecting your base is non-negotiable. The easiest solution? A clear vinyl tablecloth from the dollar store (usually $3-5). Measure your tabletop, add an inch on each side, and cut the vinyl to size with regular scissors. For a temporary setup, you can just lay it flat, the weight of your polish bottles and supplies will keep it in place. If you want something more permanent, use double-sided tape along the edges or underneath at the corners. Avoid super glue or anything that’ll damage the base furniture underneath, especially if you’re renting. A plastic desk mat works great too and often has handy pockets for storing nail art brushes or cuticle tools. For a really polished look, clear contact paper gives you that smooth, professional finish and wipes clean instantly. Just squeegee out any air bubbles as you apply it from one edge to the other.
Step 3: Set Up Task Lighting
Good lighting is honestly the difference between a polish that looks perfect and one that’s patchy or the wrong shade. You need bright, color-accurate light positioned so you’re not working in your own shadow.
Grab a clip-on desk lamp from Dollarama or Walmart (around $10-15) and swap in a daylight-balanced LED bulb (5000-6500K). These bulbs show polish colors as they truly are, unlike the warm yellow glow of standard bulbs that makes every shade look off. Position the lamp slightly above and to one side of your workspace, angled down toward where you’ll be painting your nails.
If you’ve got an extra $8-12, stick-on LED strips from IKEA work amazingly well mounted along the back edge of your table. They create even, shadow-free lighting across your whole work surface. Just make sure they’re bright white, not warm white or colored.
Test your setup by holding your hand under the light, you shouldn’t see harsh shadows across your fingers.
Step 4: Create Storage Solutions
Storage is where your manicure table transforms from a flat surface into an actual workspace. You need your polish bottles, nail files, cuticle pushers, cotton pads, and remover within easy reach, not scattered across your desk or stuffed in a drawer you have to dig through mid-mani.
Start with what you already own. Old makeup organizers work perfectly for small tools like clippers and tweezers. Mason jars (dollar store, 3 for $4) are ideal for displaying polish bottles upright so you can see every color at a glance. I use three jars: one for neutrals, one for brights, and one for topcoats and base coats.
For metal tools like scissors and nail files, stick a magnetic strip (hardware store, around $3) to the side of your table. Everything hangs neatly and you’ll never lose your favorite cuticle nipper again. Small wicker baskets or plastic bins corral cotton pads, foil wraps, and nail wipes.
The key is keeping frequently-used items closest to your dominant hand. You shouldn’t have to stand up or reach behind you for acetone or your topcoat during application.
Step 5: Add Comfort Features
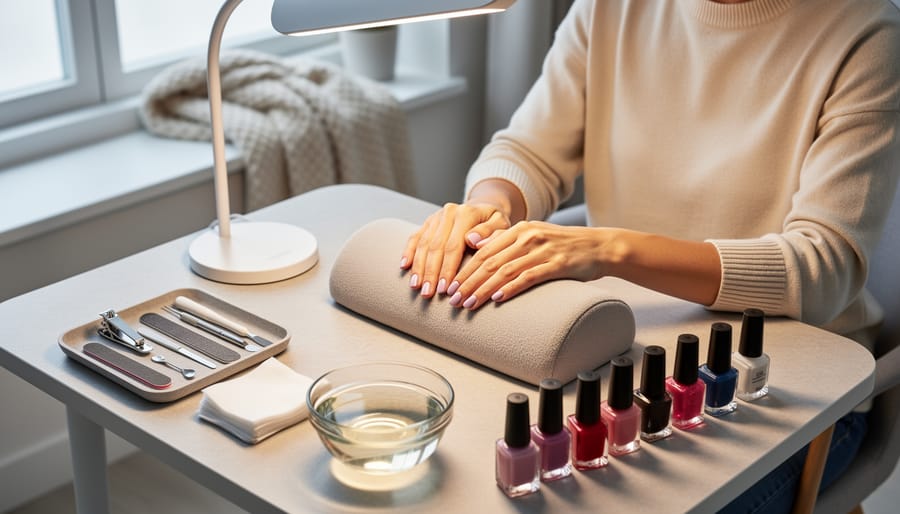
Your wrists are going to thank you for this step. Grab a folded hand towel or a cheap foam armrest (the kind designed for computer mice, around $5 at dollar stores) and position it along the edge of your table where your working arm naturally rests. This small addition prevents that annoying wrist ache you get halfway through painting your dominant hand. For seating, make sure your chair height lets your elbows bend at roughly 90 degrees, too low and you’ll hunch, too high and your shoulders will tense up. If you’re using a kitchen chair, add a throw pillow for height. Roll up a small towel to place under your client hand while painting; it elevates your fingers slightly and catches any drips before they hit your new surface.
Step 6: Personalize Your Space
Your manicure table is functional, now make it yours. A small succulent or fake plant adds life without requiring much counter space (bonus: they’re dorm-approved and nearly impossible to kill). Print out a favorite quote or mood board and tape it to the wall behind your setup for inspiration while you work. Grab a cute mini trash bin from the dollar store for cotton pads and nail file dust, it keeps your space tidy and honestly just makes the whole vibe better.
Music changes everything during a mani session. A compact Bluetooth speaker lets you queue up your favorite playlist without headphones getting in the way of your precision work. Some girls add fairy lights for ambiance or a small mirror if their setup doesn’t face one. The goal is creating a corner that feels like your personal nail salon, not just a random work surface. When your space sparks a little joy, you’ll actually want to sit down and give yourself that manicure instead of putting it off.
Testing Your Setup and Making Adjustments
Before diving into your first full manicure session, test your setup with a quick polish change on one hand. Pay attention to how your arm feels resting on the table, if you’re straining your wrist or shoulder to reach comfortably, you’ll want to adjust your chair height or reposition the table. Check that your lighting eliminates shadows across your nails when your hands are in working position. Try opening a few polish bottles and reaching for your tools without looking; everything you need regularly should be within easy reach.
Watch for wobbling when you lean slightly or press down with the polish brush. A shaky table will frustrate you fast, so add felt pads under legs or tighten any loose screws now. If you’re bumping your knees underneath or feeling cramped, consider relocating storage bins to the sides instead of directly below. Notice where spills happen during your test, that’s where you might need extra surface protection or a small tray.
Test a full manicure routine from removal to topcoat, timing yourself. If you’re constantly getting up to grab forgotten items, rethink your storage layout. Your setup should make the process smoother, not add extra steps. Make these small tweaks now, and your DIY station will feel custom-built for your workflow.
Making the Most of Your New Manicure Station
Now that your DIY manicure table is up and running, let’s talk about actually using it. The best part about having a dedicated space is that you’ll actually want to do your nails more often, which means more practice and better results.
Get into the habit of wiping down your surface after each manicure session. Keep some rubbing alcohol and paper towels nearby for quick cleanup of polish spills before they become permanent. Trust me, five minutes of cleanup now saves you from scrubbing crusty polish off your table later.
Build your polish collection slowly instead of buying everything at once. Hit up sales at Shoppers Drug Mart or grab a couple bottles each month. Focus on versatile shades first, then add fun accent colors as you go. Store them away from direct sunlight to prevent the formula from getting goopy.
Your new setup is perfect for trying techniques you might have skipped before. With proper lighting and a comfortable workspace, you can finally nail that tricky French tip or attempt gradient sponging without weird neck angles. Watch YouTube tutorials and pause as needed since you have room to work.
The best use of your manicure station? Invite your roommates or friends over for mani nights. Split the cost of new polishes, share tools, and make it a regular thing. Having a proper workspace makes these sessions way more enjoyable than crowding around someone’s bed.
Common Questions About DIY Manicure Tables
How much space do I actually need for a manicure table?
You can work with as little as two feet of desk or counter space, just enough for your dominant hand to rest comfortably while the other stays steady. In a tiny dorm, even a fold-out TV tray beside your bed works perfectly and tucks away when you’re done.
Can I keep the whole setup under $50 if I’m starting from scratch?
Absolutely. A basic card table from a thrift store runs $5-10, a vinyl tablecloth costs $3, a clip-on lamp is $12-15, and mason jars for storage are basically free if you save pasta sauce containers. If you already own a small desk or table, you’ll spend even less on just the accessories.
What if I share a room and can’t leave it set up all the time?
Choose a fold-flat base like a TV tray or lap desk that stores under your bed, and keep all your supplies in a single caddy or shoebox. Setup takes about two minutes, just unfold, clip on your light, and grab your organizer.
How do I keep the surface clean between manicures?
Wipe down your protective layer with rubbing alcohol or nail polish remover on a cotton pad after each session. The vinyl or plastic surface you added specifically prevents stains from soaking into the actual table, so cleanup stays quick and your damage deposit stays safe.
Once you’ve got your setup dialed in, the real fun begins. You can experiment with different techniques now that you have proper lighting and a stable workspace, nail color picks that actually look true to their bottle shade under your new lamp, and enough organized storage that you’re not frantically searching for your top coat while your base coat dries. If you’re strategic about when you build your polish collection, like timing purchases to shop the sales during back-to-school or holiday clearances, your whole manicure station can grow without blowing your budget. The best part is inviting your roommates or floormates over for DIY mani nights where everyone brings one polish to share and you’ve got the perfect setup to make it happen.
You just created a dedicated manicure space for less than the cost of two salon visits. That’s honestly amazing. Now you’ve got proper lighting, everything organized exactly how you want it, and a spot where you can actually relax while perfecting your polish technique. No more hunching over your bed or worrying about acetone spills on your roommate’s desk.
This is your space to experiment with new colours, practice nail art you’ve been saving on Pinterest, and maybe even invite friends over for DIY mani nights. If you haven’t already, start with a kit to stock your new station with essentials without overspending.
The best part? You proved that achieving salon-quality results at home doesn’t require a huge investment or a ton of space. You worked within your budget, got creative with what you had, and built something genuinely useful. Take a photo of your setup and share it with us. We love seeing how Canadian college students are making beauty routines work on their own terms.
Leave a Reply