
How to Build Your Own DIY Manicure Kit (Without Breaking the Bank)
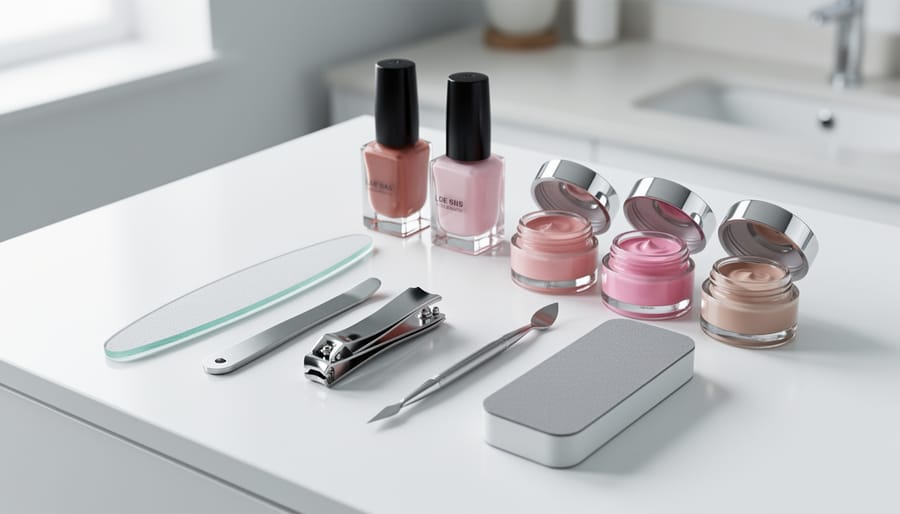
You can build a complete at-home manicure kit for under $50 that delivers salon-quality results once you know which tools actually matter and how to use them safely. The secret is skipping gimmicky gadgets and focusing on six core essentials: a glass nail file, quality clippers, a cuticle pusher, a buffer block, base and top coat, and your favorite polish shades.
Most of us have dropped serious cash at nail salons only to watch chips appear three days later. Building your own kit means you control the quality of every product touching your nails, and you can do touch-ups the second you spot wear. The upfront cost pays for itself after just two or three salon visits, and you’re not stuck with someone else’s color choices or rushed application.
The learning curve is shorter than you think. If you can paint inside the lines (even badly), you can teach yourself a clean manicure in two or three practice sessions. The trick is working in thin coats, capping your tips, and giving each layer enough dry time. Once you nail the basics, you’ll wonder why you ever paid $35 plus tip for something you can do while binge-watching your favorite show.
What You Actually Need in Your DIY Manicure Kit
Budget-Friendly Brands That Actually Work
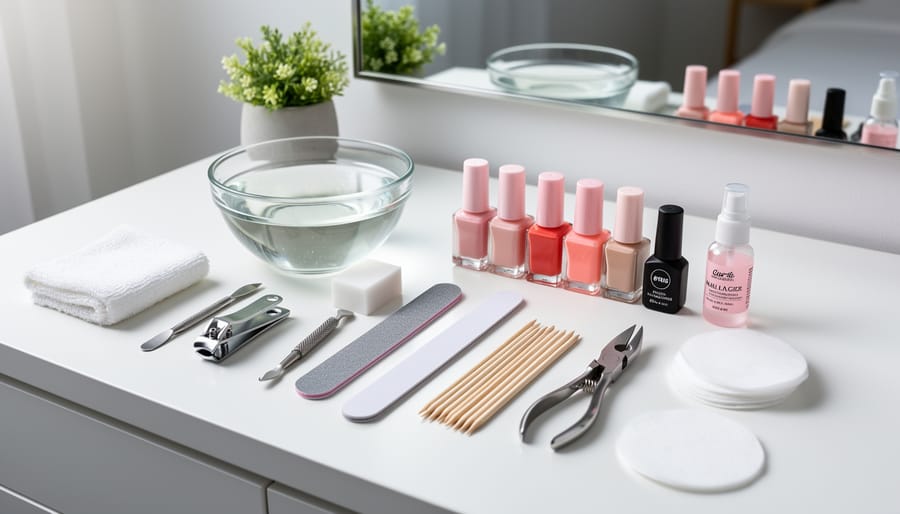
You don’t need to blow your budget at Sephora to get decent nail polish and tools. Brands like Essence (at Shoppers or Walmart) nail most of the basics for under $4 each, their polishes last surprisingly well, and their nail files do the job without shredding your nails. Sally Hansen is everywhere in Canada and hits that sweet spot between cheap and reliable; their Insta-Dri top coat is genuinely worth the $7. For absolute bargain hunting, Dollarama carries LA Colors and other no-name brands that work fine for practice or trendy colors you’ll only wear twice. When you’re ready to level up, OPI minis or Essie bottles go on sale constantly at drugstores, especially during bonus points events.
Here’s the real talk: splurge a bit on your base coat and top coat (they make everything last longer), but skimp on the actual color polish since you’ll want to switch shades constantly anyway. Cotton pads and remover from the dollar store work exactly the same as pricier versions. If you’re overwhelmed by choices, check out our affordable buying guide for more strategies on stretching your money without sacrificing quality. Start with one or two good neutrals and build your collection as you figure out what formulas you actually like working with.
Safety and Prep Before You Start
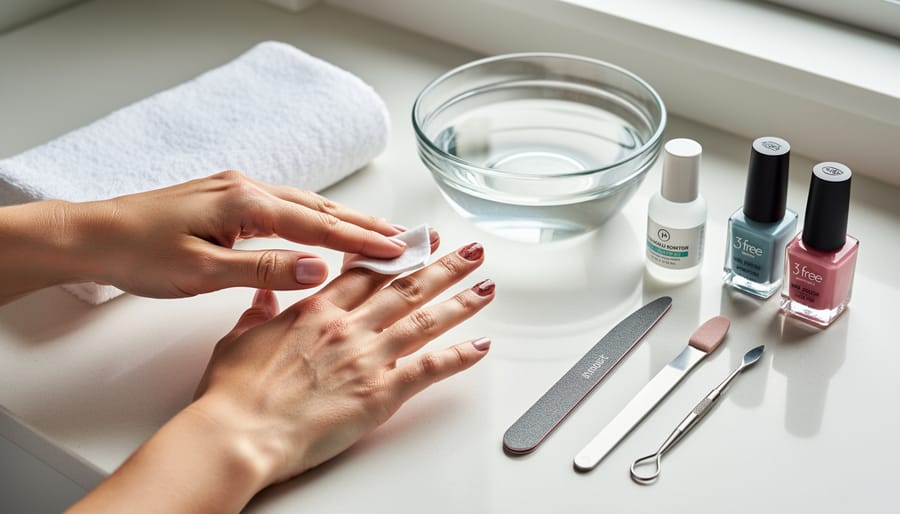
Before you dive into painting your nails, let’s talk about keeping things safe and hygienic, because a cute manicure isn’t worth a nasty infection or damaged nail beds. Think of this as your pre-game ritual that sets you up for success.
Start by washing your hands thoroughly with soap and warm water. Seems obvious, but you’d be surprised how much dirt and oil can mess with polish adhesion and introduce bacteria under your nails. If you’re removing old polish, do that first using a cotton pad soaked in remover, wiping from base to tip. Acetone-based removers work faster but dry out your nails more, so follow up with a quick hand wash to remove residue.
Now for the safety stuff that actually matters. Your tools need to be clean, wipe down clippers, files, and cuticle pushers with rubbing alcohol before and after each use. Sharing tools with roommates? Definitely sanitize between people. Never, and I mean never, cut your cuticles with clippers or scissors. That thin skin barrier protects against infection, so you only want to gently push it back with a cuticle pusher after softening it in warm water. Aggressive cutting creates open wounds that can become seriously infected.
Ventilation is non-negotiable when you’re working with polish and remover. Those fumes aren’t just unpleasant; they can cause headaches and dizziness in poorly ventilated spaces. Crack a window or set up near a fan, especially if you’re doing multiple coats or using acetone. Your brain will thank you, and your polish will actually dry better with some air circulation.
Step-by-Step: Your At-Home Manicure Process
Shaping and Filing Like a Pro
Grab your nail file and let’s talk about the one step that makes the biggest difference in how polished your nails look. The trick? Always file in one direction, not back and forth like you’re sawing wood. That sawing motion creates tiny tears in your nail edge that lead to peeling and breakage later.
Start with your pinky and work toward your thumb, holding the file at a slight angle under the nail tip. Use gentle, sweeping strokes from the outer edge toward the center. If you’re going for square nails, keep the file perpendicular to your nail and create a flat edge with slightly rounded corners. Round or oval shapes need more curved motions following your natural nail bed shape.
Here’s the real question: which shape fits your life? If you’re constantly typing or texting, shorter round nails won’t catch on keyboards. Into sports or hands-on activities? Square shapes with rounded edges (squoval) give you length without the breakage risk of sharp corners. Almond and stiletto shapes look amazing but require more maintenance and careful handling.
Test your shape choice for a week before committing to that style long-term.
The Polish Application That Actually Lasts
The secret to polish that lasts more than two days? Thin coats and patience. Start with a thin base coat, it protects your nails and helps color grip better. Let it dry completely (scroll TikTok for two minutes if you need a timer). When you apply your color, wipe most of the polish off the brush before it touches your nail. You want barely enough to cover in one stroke down the center, then one on each side. Two thin coats always beat one thick one that takes forever to dry and chips by tomorrow.
Here’s what most people miss: sealing the free edge. After each coat (base, color, and top), swipe the brush tip gently across the nail edge like you’re capping it. This prevents water from sneaking under the polish when you wash your hands. Skip the base coat and your color will stain your nails yellow, not cute. Skip the top coat and you’ll have chips by day two.
Wait at least two minutes between coats. Rushing layers causes bubbling and smudging, which means starting over. Just like organizing your makeup bag essentials a little prep and order makes everything work better. If you do smudge something, dip a flat brush in remover and clean up edges before the top coat, it hides a multitude of sins. Thick, goopy polish means it’s time to replace it or add a few drops of thinner (never regular nail polish remover, which breaks it down).
How to Tell Your Mani Turned Out Right (and What to Fix)
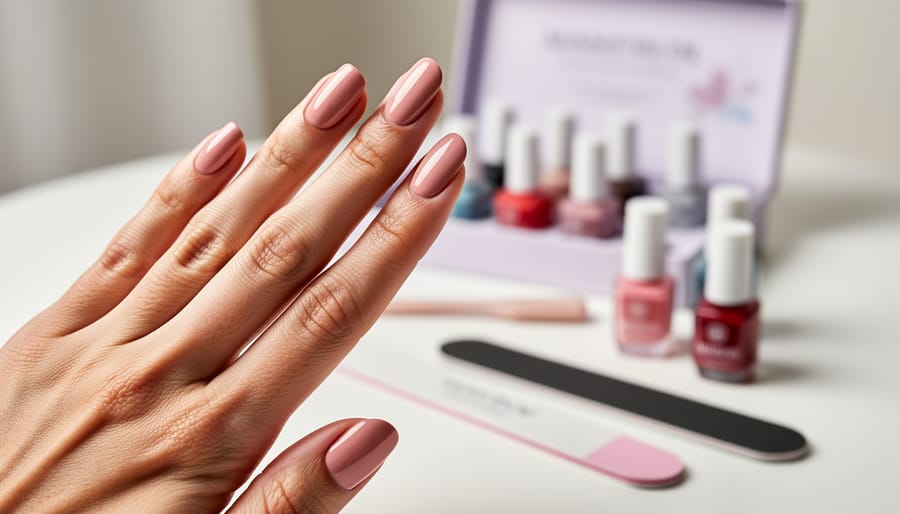
Give your nails a quick quality check about five minutes after your final top coat. Tilt your hand under good lighting and look for even shine across each nail, if some areas look dull or patchy, you might’ve missed a spot with your top coat. Run your finger gently along the edge where polish meets skin; clean edges mean you did a solid job with application. Any polish on your skin? Dip a small brush or cotton swab in remover and clean it up now before it fully dries.
The real test comes about 30 minutes later. Gently press your thumbnail into the polish on another nail. If it leaves an indent, it’s not dry yet, give it more time. Fully dried polish should feel hard and smooth, not tacky. Check the tips of your nails especially, since that’s where peeling usually starts. If the edges aren’t sealed properly, run a thin layer of top coat across the free edge while you can still fix it.
Why is my polish bubbling?
Bubbles usually happen when you shake the bottle instead of rolling it, or when you apply thick coats that trap air. Thinner layers and gentle mixing prevent this.
How long should I really wait between coats?
Two to three minutes between thin coats is enough. Rushing causes smudging, but waiting too long can make layers not bond properly.
What if I mess up a nail after everything’s done?
Let it dry completely, then use a cotton swab dipped in remover to clean just that nail. Redo it with base coat, color, and top coat, it’ll blend in once dry.
Your manicure should last at least five days if you’ve done everything right. If polish starts chipping within 24 hours, you probably skipped the base coat or didn’t seal your tips. Peeling at the cuticle area usually means you got polish on oily skin instead of clean nail plate. These aren’t failures, they’re just things to adjust next time. Even one successful nail teaches you what works for your technique.
Making Your Kit and Manicure Last Longer
Your DIY manicure kit is an investment, so treat it right. Store your polishes upright in a cool, dark spot (not the bathroom, humidity messes with the formula). Wipe down your tools with rubbing alcohol after each use, and toss any polish that gets goopy or separated. A little maintenance goes a long way.
To stretch your manicure’s lifespan, apply a fresh layer of top coat every two to three days. It seals everything in and adds shine. Wear gloves when doing dishes or cleaning, and moisturize your hands and cuticles daily, just like your daily routine tips for skin, consistency matters. Healthy nails hold polish better.
Replace tools when they’re legitimately worn out, not just because something shinier exists. Your file loses its grit, your brush gets frayed, your base coat thickens, those are signs. But that basic kit you started with? It can last years. Keep practicing new techniques, try different colors, and don’t stress about perfection. Every manicure teaches you something, and the money you save adds up fast.
Building your own manicure DIY kit is one of those small investments that keeps paying off. You’re not just saving money every time you skip the salon, you’re gaining a skill that’ll serve you through college and beyond. Plus, there’s something genuinely satisfying about looking down at nails you did yourself and thinking, “Yeah, I did that.”
Your kit will evolve as you figure out what works for your nails and your style. Maybe you’ll discover you’re obsessed with nail art, or maybe you’ll stick with classic reds forever. Either way, you’re in control of your budget and your look.
We’d love to see how your DIY manicures turn out! Share your favorite budget finds, your best nail fails, and your proudest results in our community forums. Chances are, someone else is figuring out the same techniques you just mastered, and your tips could be exactly what they need. Salon-quality nails on a student budget? Absolutely possible. You’ve got this.
Leave a Reply